Save to Pinterest
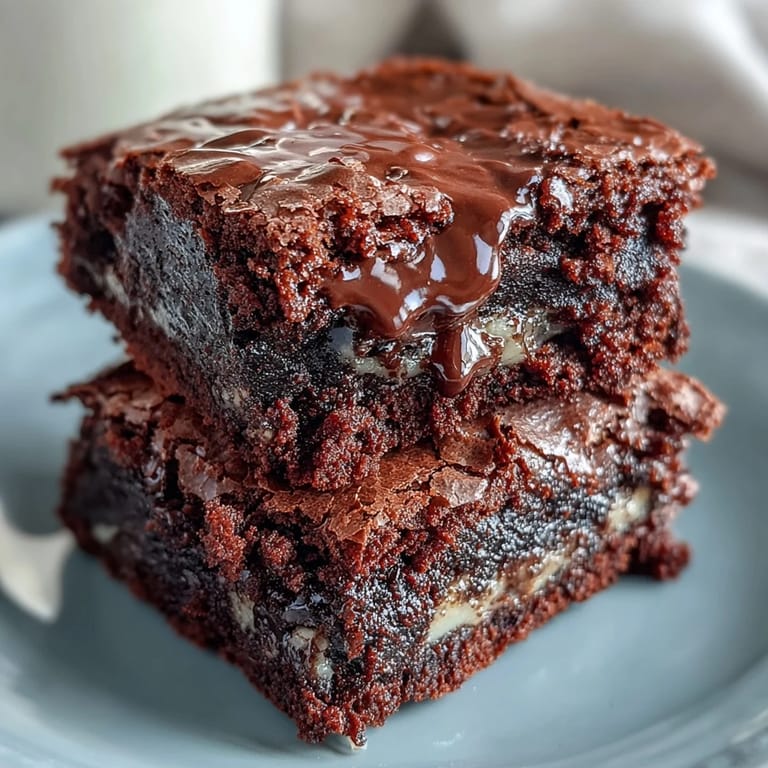
 There's a particular kind of kitchen guilt that comes with maintaining a sourdough starter—that moment when you realize you've fed it again and can't possibly use all that discard before the next feeding cycle. One Tuesday afternoon, staring at a jar of bubbly starter and craving chocolate, I decided those brownies weren't going to make themselves, and honestly, that's when everything clicked into place. The sourdough discard didn't just add moisture; it brought this subtle tang that made the chocolate taste deeper, more complex. What started as a solution to kitchen waste became the only brownie recipe I actually want to make anymore.
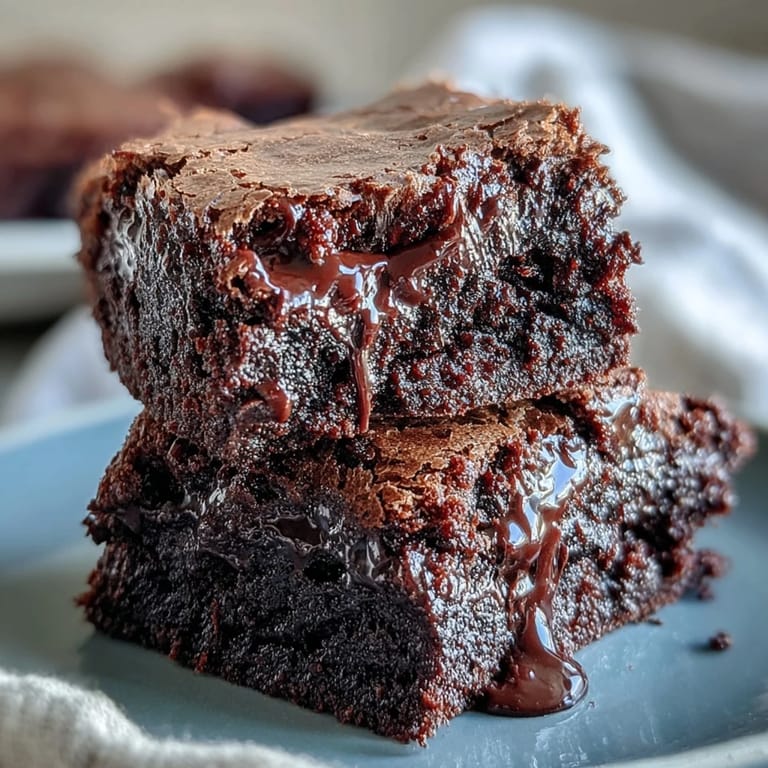
I made these for my sister's book club, and she asked for the recipe before anyone had even finished the first bite. What made me nervous was wondering if people would taste the sourdough and think I'd made a weird choice, but instead they just kept reaching for more squares, describing them as impossibly moist and rich. That's when I realized the sourdough was doing its job so well that it was invisible—which is exactly what good ingredients should do.
Ingredients
- Unsalted butter (115 g): Room temperature butter makes the final texture lighter, but melting it first actually gives you more control over the chocolate mixture and keeps the brownies from becoming cakey.
- Semisweet chocolate chips or chopped chocolate (170 g): The quality here matters more than you'd think—cheaper chocolate can make these taste waxy, so splurge a little if you can.
- Sourdough discard (120 g): Use unfed, freshly discarded starter before your regular feeding, not the super bubbly active stuff, which can add unwanted yeast flavor.
- Granulated sugar (200 g): This is your moisture insurance, so don't reduce it thinking you'll lower calories—you'll just get dry brownies.
- Eggs (2 large): Temperature matters slightly here; cold eggs can seize your melted chocolate, so let them sit out for five minutes if your kitchen is cold.
- Vanilla extract (1 tsp): Pure vanilla, not imitation, makes a real difference in masking any sourdough sourness.
- All-purpose flour (65 g): Weigh it if you can—scooping and leveling tends to pack extra flour into your cup, making brownies dense and dry.
- Unsweetened cocoa powder (30 g): The dark stuff with nothing added, because that's where your chocolate flavor really lives.
- Fine sea salt (1/2 tsp): Salt brings out chocolate depth, and fine sea salt dissolves better than kosher salt in the batter.
- Creamy peanut butter (80 g): Natural or processed doesn't matter much, but make sure it's pourable—the thick stuff won't swirl properly.
- Powdered sugar (1 tbsp, optional): Sweetens the peanut butter swirl without adding moisture, but honestly, I skip it half the time and they're still delicious.
Tired of Takeout? 🥡
Get 10 meals you can make faster than delivery arrives. Seriously.
One email. No spam. Unsubscribe anytime.
Instructions
- Preheat and prep:
- Get your oven to 175°C (350°F) and line your square pan with parchment paper, letting the edges hang over the sides—this makes pulling the brownies out later so much easier than trying to flip a hot pan. Having everything ready before you start melting chocolate keeps you calm and prevents burning.
- Melt chocolate and butter together:
- Use the microwave in 30-second bursts, stirring between each one, because chocolate can go from melted to seized faster than you'd expect. Once it looks almost smooth, pull it out and let the residual heat finish the job while you prepare everything else.
- Combine wet ingredients:
- In a large bowl, whisk together the sourdough discard, sugar, eggs, and vanilla until it looks homogeneous and slightly fluffy. The whisking incorporates a little air, which prevents ultra-dense brownies while still keeping them fudgy.
- Fold in chocolate:
- Pour the cooled chocolate mixture into your wet ingredients and whisk until you have a smooth, glossy batter with no streaks. This is when your kitchen starts smelling dangerously good.
- Add dry ingredients gently:
- Sift the flour, cocoa powder, and salt directly into the bowl and use a spatula to fold everything together with just a few strokes—overmixing develops gluten and creates tough, cakey brownies instead of fudgy ones. Stop as soon as you don't see flour streaks anymore.
- Transfer to pan:
- Pour the batter into your prepared pan and smooth the top gently with the spatula. Don't compress it; you want it to rise slightly in the oven.
- Create the peanut butter swirl:
- Mix the peanut butter with powdered sugar (if using) until it's smooth and spreadable, then drop spoonfuls across the brownie batter. Use a skewer or knife to draw lines through the peanut butter, creating swirls—go back and forth a few times, but don't overwork it or the swirl will disappear into the chocolate.
- Bake until just set:
- Bake for 28–32 minutes, checking at the lower end of the time range—a toothpick should come out with moist crumbs, not clean and not fudgy. The brownies will firm up as they cool, so slightly underbaked is your goal here.
- Cool completely before cutting:
- Let the pan sit on the counter until it reaches room temperature, then refrigerate for at least an hour if you have patience (I rarely do). Cold brownies cut cleaner and taste even more fudgy.
 Save to Pinterest
 The real magic happened when I made these for my own breakfast after a rough morning, pairing a square with strong coffee and realizing I'd accidentally created something that felt both indulgent and practical. That's when I understood why these brownies stick around in my rotation—they're not just a way to use up discard anymore, they're proof that the best recipes come from solving real kitchen problems while refusing to compromise on flavor.
Why Sourdough Discard Works Here
Sourdough discard brings moisture and a subtle fermented depth that commercial leavening can't replicate, which means these brownies stay tender without any chemical aftertaste. The wild fermentation also breaks down some of the flour's starches, making the texture denser and fudgier than a traditional brownie made with baking soda alone. Plus, there's something satisfying about transforming something you'd normally throw away into a dessert good enough to make people ask for seconds.
The Peanut Butter Swirl Strategy
The peanut butter swirl does more than look pretty—it creates pockets of creamy contrast that make every bite feel special, and because you're swirling it into raw batter, it stays soft while the surrounding brownie bakes to fudgy perfection. The trick is using a ratio that distributes evenly without overwhelming the chocolate, and the optional powdered sugar prevents the swirl from being greasily rich. If you're making these for someone avoiding peanuts, sunflower seed butter swirls just as beautifully and tastes just as delicious.
Storage, Serving, and Variations
These brownies keep beautifully in an airtight container for up to five days, and honestly, they taste better as they age because the flavors settle and the moisture redistributes. A slightly warmed square with vanilla ice cream melting into the fudgy crumbs is how they're meant to be eaten, but I've also demolished them cold straight from the fridge at 6 a.m. without regret.
- For nut-free versions, swap the peanut butter swirl for tahini or almond butter, or simply skip it and add chocolate chips instead.
- Chopped nuts, espresso powder, or a pinch of cayenne pepper can all be folded into the batter for variations that still feel true to the original.
- If your brownies seem dry after baking, store them with a slice of bread in the container to trap moisture—it sounds weird but genuinely works.
 Save to Pinterest
 These brownies prove that the best kitchen solutions come from necessity and experimentation, and that your sourdough starter deserves better than the drain. Make them once, and I promise you'll find yourself actually looking forward to feeding your starter just so you have an excuse to bake another batch.
Recipe Questions
- → Can I use active sourdough starter instead of discard?
It's best to use unfed sourdough discard to avoid affecting the texture and flavor. Active starter may introduce excess yeast and alter the batter.
- → How can I make these brownies nut-free?
Omit the peanut butter swirl or substitute it with sunflower seed butter for a similar creamy topping without nuts.
- → What’s the best way to achieve a moist brownie texture?
Incorporating sourdough discard adds moisture and tenderness, while careful mixing ensures the batter stays light and fudgy without overmixing.
- → Can I add nuts or chocolate chips for more texture?
Yes, folding in chopped nuts or chocolate chips before baking adds delightful crunch and extra richness to the brownies.
- → How do I know when the brownies are perfectly baked?
Bake until the center is just set and a toothpick inserted comes out with moist crumbs, ensuring a fudgy consistency.
- → Is it possible to freeze these brownies?
Wrap cooled brownies tightly and freeze in an airtight container. Thaw at room temperature before serving for best results.