 Save to Pinterest
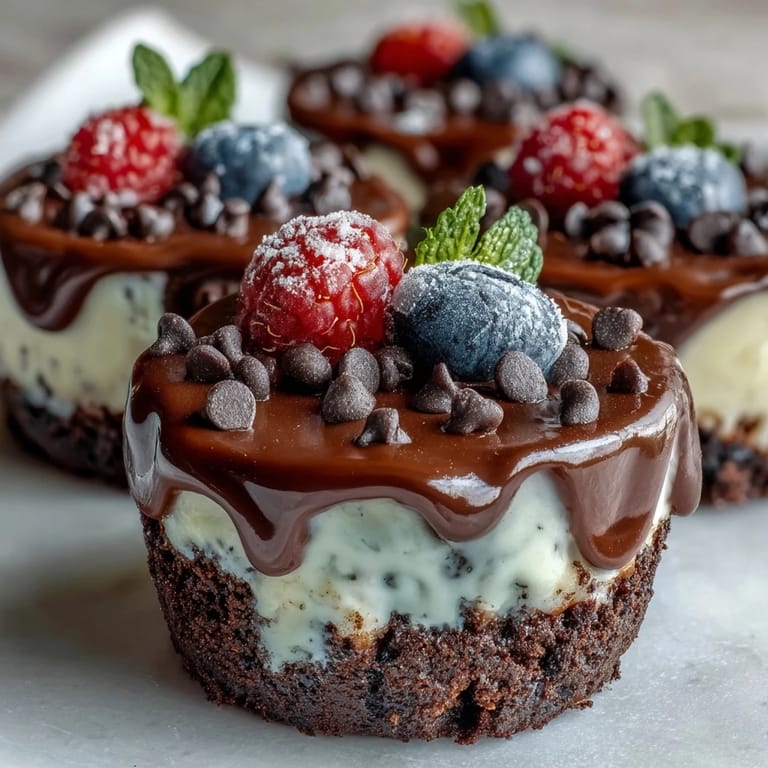
 There's something magical about the first bite of these Mini Cheesecake Bites—it's like a celebration in your mouth. I stumbled upon this recipe while searching for something to impress my friends at a gathering. As I was testing the flavors, the smell of melting chocolate mingling with creamy cheese made my kitchen feel like a cozy cafe. It was a simple moment, yet one that makes me smile just thinking about it; everyone gathered around the dessert table, eyes lighting up with delight. These little bites aren’t just desserts; they’re a way to share joy.
A particular memory stands out when I made these for my niece's birthday. The laughter of kids mingling with the rich aroma from the oven created an atmosphere brimming with excitement. Once I set the platter down, eyes widened, and soon enough, there was a mini stampede towards dessert—those bites disappeared before I could even snag one for myself!
Ingredients
- Oreo cookies: These provide a rich, crunchy base that contrasts beautifully with the creamy filling.
- Unsalted butter: Melted, it helps bind the cookie crust for that perfect crunch.
- Cream cheese: Essential for that smooth and rich cheesecake texture you crave.
- Granulated sugar: Adds sweetness that balances the creamy and rich flavors.
- Eggs: They provide structure and help set the cheesecake filling to perfection.
- Vanilla extract: A splash brings warmth and depth to the sweetness.
- Sour cream: Adds a tangy twist to enhance the flavor profile.
- Salt: Just a pinch enhances all the other flavors in the cheesecake.
- Mini chocolate chips or chopped Oreos (optional): For a fun crunchy topping, adding texture is never a bad idea!
- Fresh berries (optional): They not only add color but a refreshing burst of tartness!
Tired of Takeout? 🥡
Get 10 meals you can make faster than delivery arrives. Seriously.
One email. No spam. Unsubscribe anytime.
Instructions
- Prepping the Oven and Muffin Tin:
- Start by preheating your oven to 325°F (160°C). Line a mini muffin tin with paper liners, and get ready to fill those adorable little cups.
- Making the Crust:
- In your food processor, pulse the Oreo cookies until they resemble fine crumbs. Combine them with melted butter until the mixture is moist and can hold together when pressed.
- Pressing Down:
- Spoon about a tablespoon of the Oreo crust mixture into each muffin cup and press it down firmly. You're creating the foundation for those rich cheesecakes, so make sure it's compact.
- Baking the Crusts:
- Put your muffin tin into the oven and bake the crusts for about 5 minutes. Let them cool on the countertop, but don’t get too distracted—there’s cheesecake to make!
- Preparing the Filling:
- In a large mixing bowl, beat the softened cream cheese until it’s smooth. Add sugar, and mix until creamy, followed by eggs, vanilla, sour cream, and a pinch of salt until thoroughly combined.
- Filling Up:
- Pour the cheesecake mixture evenly over the crusts, filling them almost to the top. This is the moment your kitchen begins to smell heavenly!
- Baking to Perfection:
- Bake the cheesecakes for 12-14 minutes or until the centers are set but still a bit jiggly. Trust me, this gives you that creamy texture.
- Cooling and Chilling:
- Once baked, remove them from the oven and let them cool at room temperature for 30 minutes. To make them perfect for serving, chill them in the refrigerator for at least 1 hour.
- Finishing Touches:
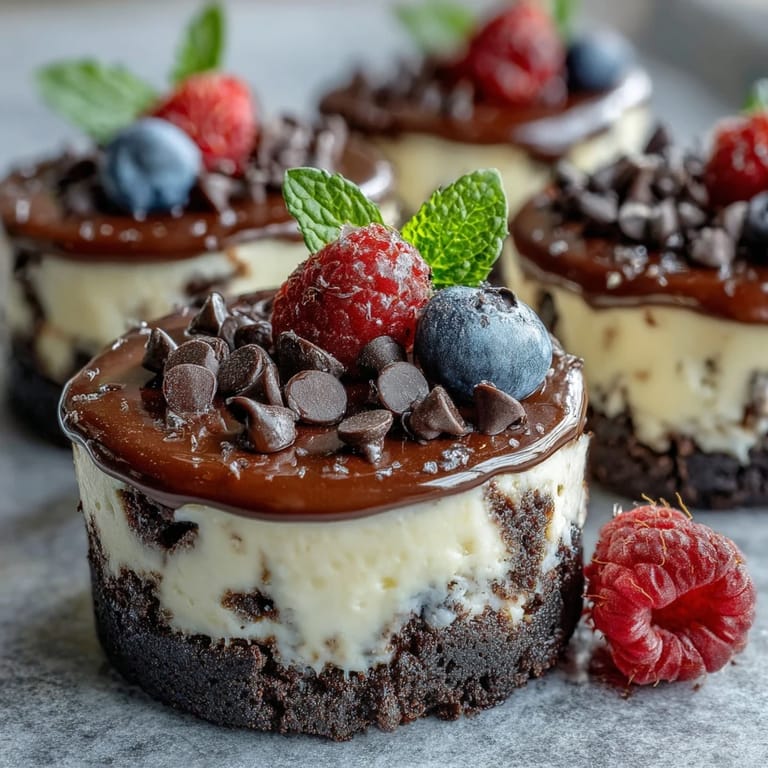
- Top with chocolate chips, chopped Oreos, or fresh berries if you’re feeling fancy before serving. Each topping adds its own twist!
 Save to Pinterest
 These bites have become my go-to dessert for any gathering because their bite-sized nature always brings smiles. One time, a friend joked, saying they are like clouds of happiness, and I couldn't help but agree!
Baking and Celebrating
There’s a unique thrill in baking for friends and family—it's not just about feeding but also about sharing experiences. As you prepare these cheesecakes, I suggest playing some upbeat music; it adds a layer of joy to the process.
Secrets to Success
Getting these bites just right involves a gentle touch, especially when baking. Monitor the baking time closely, as overbaking can alter their creamy texture.
Make it Your Own
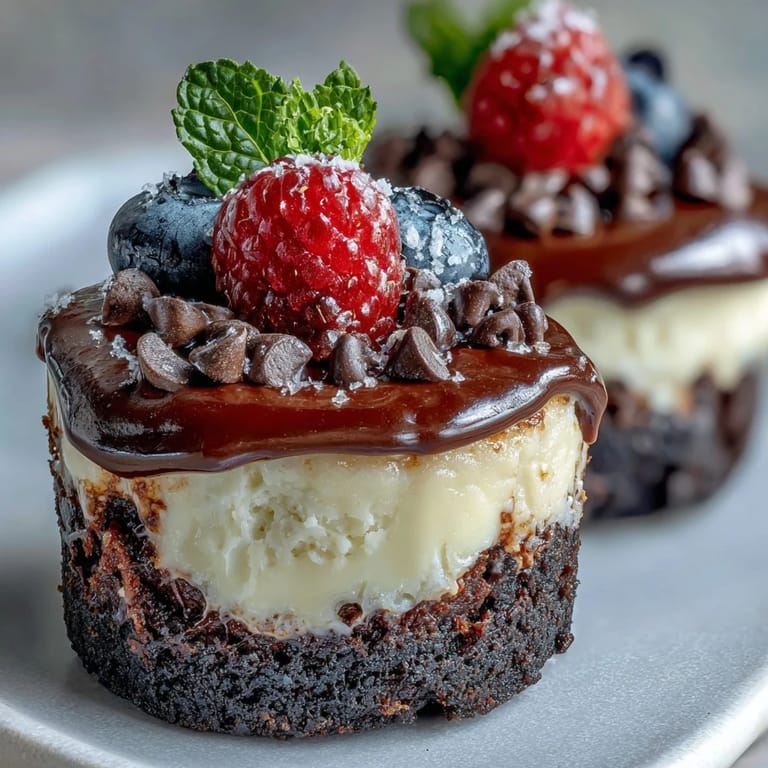
Experimenting with toppings can add a personal flair, making each batch different and exciting.
- Swap in your favorite cookie for the crust; the possibilities are limitless!
- Add spices like cinnamon or nutmeg for a warm flavor twist.
- Try different flavored extracts, such as almond or hazelnut, to create unique profiles!
 Save to Pinterest
 In the end, these cheesecakes are more than just a sweet treat; they’re a joyous occasion waiting to happen. I hope you enjoy making and sharing them as much as I do!
Recipe Questions
- → Can I use different cookies for the crust?
Yes, you can use gluten-free sandwich cookies or any other cookie of your choice for a customized crust.
- → How long do these bites last in the refrigerator?
These mini cheesecake bites can be stored in the refrigerator for up to 5 days in an airtight container.
- → Can I make these ahead of time?
Absolutely! These bites can be made a day in advance and kept chilled until serving.
- → Are there any vegan alternatives for the filling?
Yes, you can use vegan cream cheese and egg substitutes for a plant-based version of these bites.
- → How do I know when the cheesecake is done baking?
The mini cheesecakes should be slightly jiggly in the center but set around the edges when they are done baking.