 Save to Pinterest
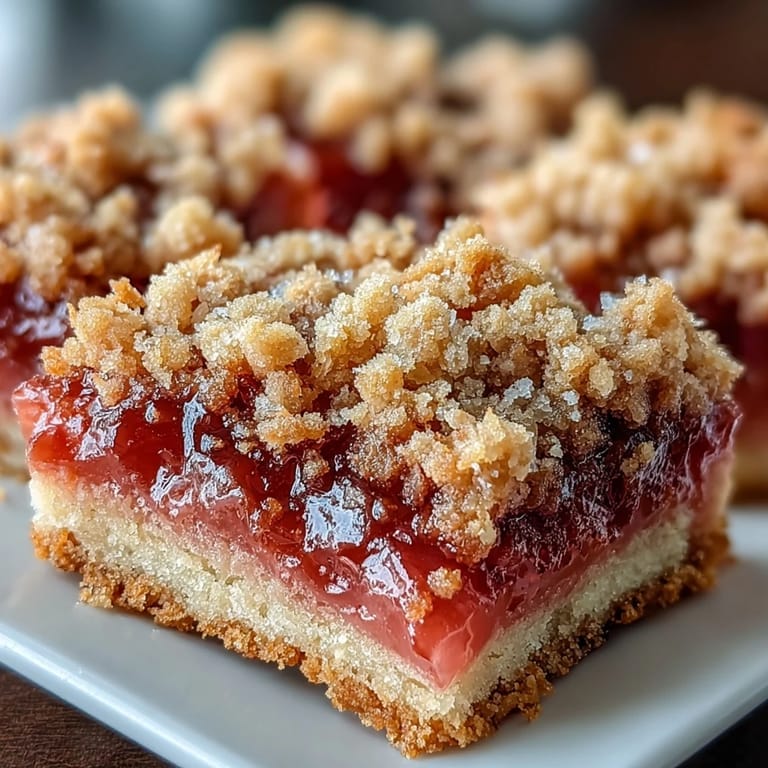
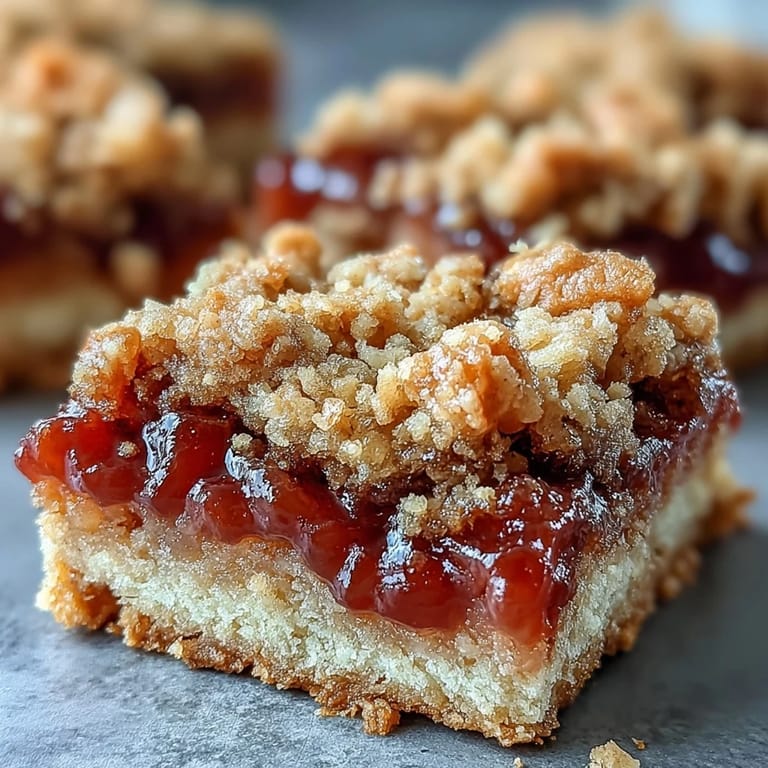
 My neighbor brought over a jar of homemade guava jam one afternoon, still warm from her kitchen, and I knew immediately what I had to do with it. These bars came together almost by accident—a buttery shortbread base seemed like the obvious canvas, and layering it with that bright, jammy filling felt like capturing summer in a pan. The streusel topping was the final touch that made them irresistible, all golden and crumbly against the sweet tropical filling. That first batch disappeared in hours, and I've been making them ever since whenever I want something that tastes like a beach vacation but comes from my own oven.
I made a batch for a potluck one spring, and watching people's faces light up when they bit into that tropical jam hidden inside became one of those small kitchen victories you don't forget. Someone asked if I'd bought them from a bakery, which felt like the highest compliment, and suddenly I was writing down the recipe on napkins at the dessert table. That's when I knew these bars had become something special in my regular rotation.
Ingredients
- All-purpose flour: Two cups gives you structure without being heavy, and measuring by weight ensures consistency every time.
- Granulated sugar: One cup sweetens the dough itself, so the bars aren't dependent on the filling alone for flavor.
- Baking powder: Just half a teaspoon helps the bars rise slightly and creates that tender crumb structure.
- Salt: A quarter teaspoon balances everything and makes the butter and guava shine.
- Unsalted butter, cold and cubed: Keep this genuinely cold—it's the secret to getting those crumbly layers instead of a uniform dough.
- Large egg: Binds everything together just enough to hold the dough without making it dense.
- Vanilla extract: One teaspoon adds warmth that complements the guava perfectly.
- Guava jam or paste: One cup is your filling—soften it slightly so it spreads without dragging the base layer.
Tired of Takeout? 🥡
Get 10 meals you can make faster than delivery arrives. Seriously.
One email. No spam. Unsubscribe anytime.
Instructions
- Set your stage:
- Preheat your oven to 350°F and line an 8x8-inch pan with parchment paper, letting it hang over the edges so you can lift the whole block out later without fussing. This step saves so much frustration when you're trying to cut clean bars.
- Build your dry mixture:
- Whisk together flour, sugar, baking powder, and salt in a large bowl—this distributes the leavening evenly and prevents dense pockets. Take your time here; it only takes a minute and makes everything that follows easier.
- Cut in the cold butter:
- Add cubed cold butter and use a pastry cutter or your fingertips to work it in until the mixture looks like coarse breadcrumbs with pea-sized pieces of butter still visible. You're not trying to make a smooth dough; you want texture and layers.
- Bring it together:
- Stir in the egg and vanilla extract until a crumbly dough just comes together—don't overwork it or you'll toughen the bars. It should feel shaggy and loose, not smooth.
- Create the base:
- Press about two-thirds of the dough evenly across the bottom of your prepared pan, using your hands or the back of a spoon to get it level. This layer should be thin but sturdy enough to hold the jam.
- Spread your guava layer:
- Gently spread the softened guava jam over the base, leaving a small border around the edges so it doesn't seep out during baking. Use an offset spatula or the back of a spoon to keep it even.
- Top with crumbles:
- Crumble the remaining dough evenly over the jam layer, letting it fall naturally so you get those rustic, craggy pieces on top. Don't press it down—those air pockets are what make the streusel golden and crispy.
- Bake until golden:
- Slide the pan into your preheated oven for 35 to 40 minutes, watching until the top turns a light golden brown and you start smelling that toasted butter aroma. The bars are done when the edges feel set but the center still has a tiny bit of give.
- Cool completely:
- Let them cool entirely in the pan—this is where patience pays off because cutting warm bars will shatter them into a messy situation. Once they're room temperature, lift them out using the parchment overhang and cut into 16 pieces.
 Save to Pinterest
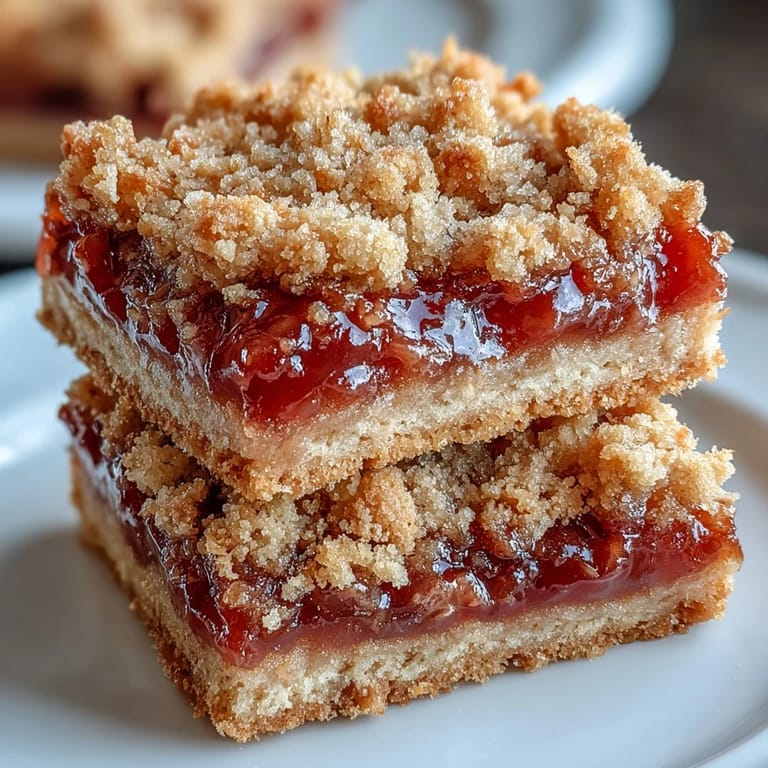
 These bars have become my go-to when I want to bring something homemade to a gathering but don't want to spend hours in the kitchen. There's something about the combination of buttery cookie, bright guava, and crumbly topping that feels both familiar and adventurous at the same time.
Flavor Swaps That Work
While guava jam is my favorite for these bars, I've experimented with other fruit preserves and discovered some delicious variations worth trying. Apricot jam gives them a more classic, European feel, while raspberry keeps them bright but with a different tartness. Mango jam brings another tropical note if you want to lean into that direction, and even a good quality strawberry jam transforms them into something almost like a shortcake bar.
Adding Texture and Crunch
One winter evening, I tossed half a cup of chopped toasted pecans into the streusel topping, and that one addition changed everything about how the bars felt in your mouth. The nuts add a satisfying crunch that plays beautifully against the soft jam, and they toast just enough during baking to develop a deeper flavor. Almonds work just as well if you prefer them, and I've even tried a mix of both with really happy results.
Serving and Storage
These bars are wonderful on their own, but a scoop of vanilla ice cream on top turns them into something genuinely special—the cold cream melts into the warm jam if you serve them slightly warm. They keep beautifully in an airtight container for up to four days at room temperature, and I've found they actually taste even better on day two when all the flavors have had time to settle together. For longer storage, wrap them individually and freeze up to two months, pulling them out whenever you need something that tastes like a tropical escape.
- Serve these warm if possible, when the jam is still slightly soft and the streusel topping hasn't hardened into something too dense.
- Store them in layers separated by parchment paper so they don't stick together or get crushed.
- These make an impressive homemade gift when packaged in a small box tied with twine.
 Save to Pinterest
 There's something deeply satisfying about pulling a pan of these bars from the oven, watching that jam bubble slightly at the edges and the top turn golden. They remind me that some of the best desserts are the ones that don't demand much but deliver so much flavor and joy.
Recipe Questions
- → Can I use fresh guava instead of jam?
Fresh guava isn't recommended as it contains too much moisture. Guava jam or paste works best because the concentrated texture creates the perfect filling layer without making the crust soggy during baking.
- → How should I store these bars?
Store in an airtight container at room temperature for up to 3 days. For longer freshness, refrigerate for up to a week. They also freeze well—wrap individual bars in plastic and freeze for up to 3 months.
- → What other fruit preserves work well?
Apricot, raspberry, mango, or pineapple jam make excellent substitutes. Choose preserves with a thick, spreadable consistency similar to guava for the best texture and baking results.
- → Why must I cool completely before cutting?
The jam layer needs time to set as it cools. Cutting while warm causes the filling to ooze and the crumbly crust to break apart. For clean, neat squares, let them cool at room temperature for 2-3 hours or refrigerate for 1 hour.
- → Can I make these gluten-free?
Yes, substitute the all-purpose flour with a 1-to-1 gluten-free flour blend containing xanthan gum. The texture remains crumbly and delicious, though the bars may be slightly more delicate to handle.
- → What's the best way to get even layers?
Use the bottom of a measuring cup to press the base dough firmly and evenly. When spreading jam, leave a small border to prevent overflow. For the topping, squeeze handfuls of dough to create uniform crumbs.