 Save to Pinterest
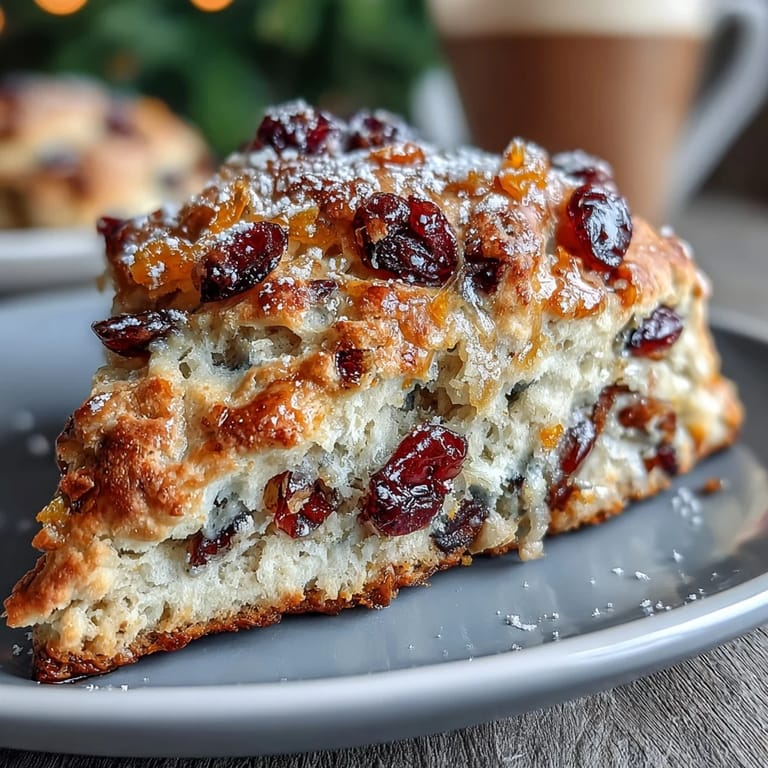
 My kitchen smelled like a candied citrus dream the afternoon I first assembled these scones for a Valentine's brunch that turned into an impromptu neighborhood gathering. The combination of tart cranberries and sweet orange peel seemed almost too festive for February, yet somehow it felt exactly right. A friend arrived early, caught me mid-batter, and asked if she could stay and help—which meant I spent the next hour laughing while she insisted my "rubbing in the butter" technique looked nothing like hers. These scones became our inside joke that season, the kind of simple thing that keeps showing up at gatherings because people actually ask for them by name.
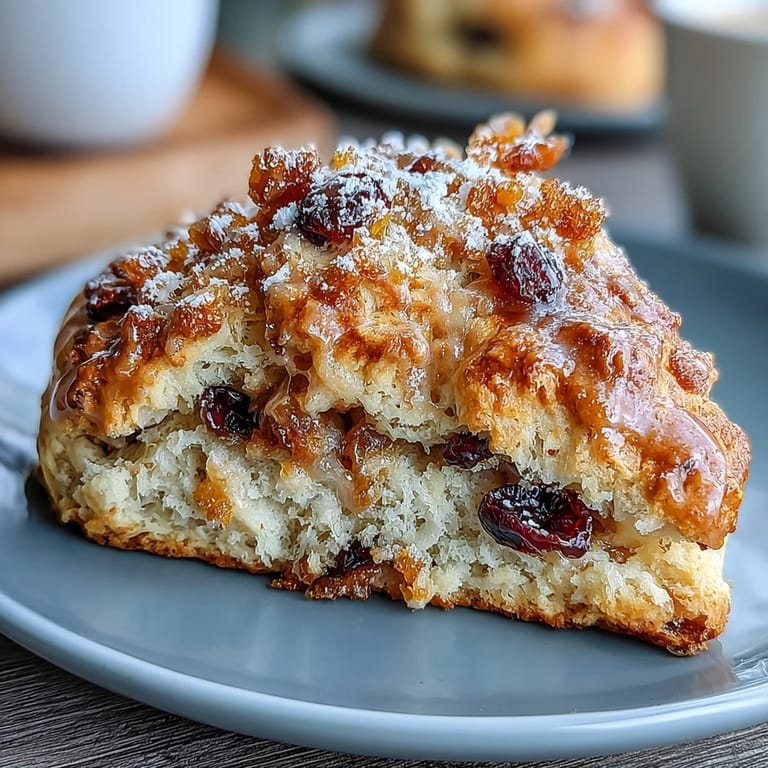
I'll never forget bringing these to a small Valentine's morning gathering where someone's elderly mother tried one, closed her eyes, and said they reminded her of a bakery she loved in Edinburgh decades ago. That moment shifted something for me about cooking—it's not just about following steps, it's about accidentally creating a bridge to someone's memory. She asked for the recipe that same afternoon, and we spent twenty minutes in my kitchen while I wrote it out by hand.
Ingredients
- All-purpose flour (2 cups): This is your scone foundation, and room temperature matters less here than keeping everything else cold, which I learned after one too many dense batches.
- Granulated sugar (1/4 cup): Just enough sweetness to let the fruits shine through without turning these into dessert—restraint is the secret.
- Baking powder (1 tablespoon): The lift comes from here, so make sure yours hasn't been sitting in the back of your cabinet since last summer.
- Fine sea salt (1/2 teaspoon): This brightens the citrus notes and keeps the sweetness from becoming cloying.
- Dried cranberries (1/2 cup): Look for ones without added oils if you can, as they distribute more evenly through the dough and taste cleaner.
- Candied orange peel (1/3 cup, finely chopped): The star ingredient that makes these taste special—chop it fairly small so you get bits in every bite rather than chewy chunks.
- Orange zest (from 1 orange): Fresh zest adds brightness that the candied peel alone can't provide, so don't skip this layer of flavor.
- Cold unsalted butter (1/2 cup): Keep it in the freezer until the last minute; those little butter pieces create the flaky layers that make scones different from biscuits.
- Heavy cream (2/3 cup, plus extra for brushing): This richness is what makes them tender rather than crumbly, and the extra bit for brushing gives you that beautiful golden top.
- Large egg (1): Mostly for binding, though it helps create that slightly glossy crumb you want.
- Pure vanilla extract (1 teaspoon): A small anchor that grounds the citrus flavors without announcing itself.
- Powdered sugar and fresh orange juice (optional glaze): If you want to finish them, this simple glaze adds sweetness and keeps the orange theme going through to the end.
Tired of Takeout? 🥡
Get 10 meals you can make faster than delivery arrives. Seriously.
One email. No spam. Unsubscribe anytime.
Instructions
- Heat your oven and prepare:
- Set the oven to 400°F and line your baking sheet with parchment paper so you're not scrambling once the dough comes together. This small act of readiness makes the whole process feel calmer.
- Build your dry base:
- Whisk flour, sugar, baking powder, and salt together in a large bowl, making sure the baking powder distributes evenly so you don't get pockets of it. This takes less than a minute but matters for even rising.
- Work in the cold butter:
- Cut cold butter into small cubes and add them to the dry ingredients, then use a pastry cutter, fork, or your fingertips to rub everything together until it looks like coarse breadcrumbs with some pea-sized pieces still visible. Those little butter pieces are what create flakiness, so don't overthink getting it perfectly uniform.
- Add the fruits and zest:
- Stir in the cranberries, chopped candied orange peel, and fresh orange zest, distributing them as evenly as you can throughout the mixture. This step is forgiving and actually kind of meditative.
- Combine wet and dry:
- In a separate bowl, whisk together the heavy cream, egg, and vanilla until it's well combined, then pour it over the dry ingredients and mix gently with a fork or wooden spoon until just barely combined. The moment the dough comes together, stop—overworking is the enemy of tender scones, and this is where patience pays off.
- Shape your scones:
- Turn the dough out onto a lightly floured surface and gently pat it into a disc about 1 inch thick, then cut it into 8 wedges like you're cutting a pie. If the dough feels sticky, lightly flour your hands rather than the dough itself.
- Prepare for baking:
- Arrange the wedges on your prepared baking sheet with a little space between each one, then brush the tops with extra cream for that gorgeous golden finish. Don't skip this step; it's what makes them look professionally done.
- Bake until golden:
- Bake for 16 to 18 minutes until the tops are a light golden brown and the edges feel set when you gently press them. Trust your oven's timing more than the clock—every oven is slightly different, and you're looking for color, not a specific minute.
- Cool and finish:
- Let the scones cool on a wire rack rather than the baking sheet, where steam can make the bottoms soggy. If you're making the glaze, whisk powdered sugar and fresh orange juice until it's smooth, then drizzle it over the completely cooled scones so it doesn't melt into puddles.
 Save to Pinterest
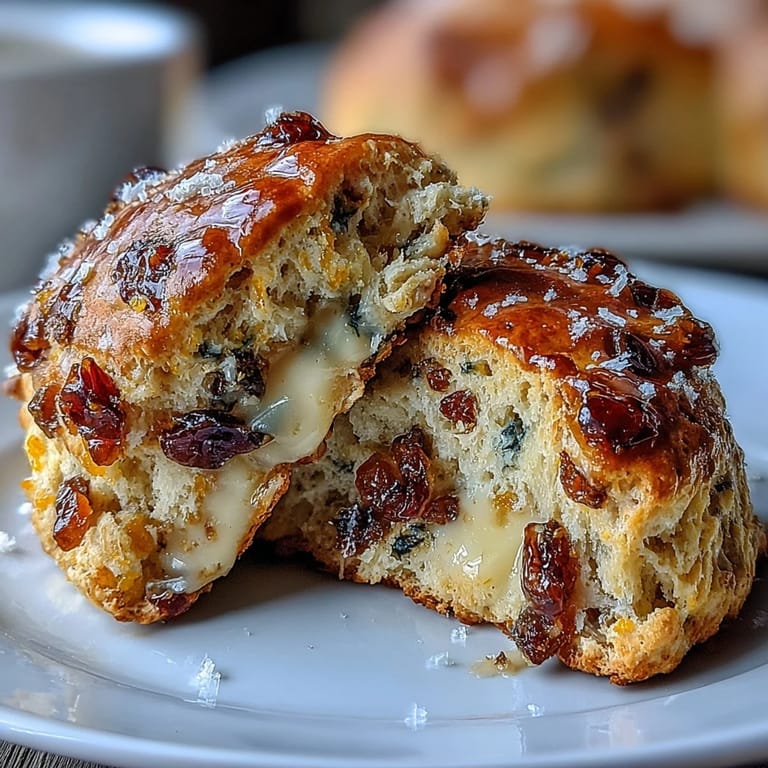
 There's something about offering a warm scone to someone on a quiet morning that feels like an act of genuine care. These ones became my go-to gift to neighbors, to friends going through difficult times, to people I wanted to say "I'm thinking of you" without words.
The Secret of Candied Orange Peel
The candied orange peel is what transforms these from basic breakfast scones into something memorable. I learned to chop it fairly fine so you get little bursts of citrus sweetness in every bite rather than chewy surprises. Some people make their own candied peel at home, and if you're inclined toward that kind of project, the fresh flavor is remarkable—but quality store-bought versions work beautifully too, and there's no shame in taking that shortcut.
Making Them Your Own
Once you master the basic technique, you can swap the fruits around based on what's in your pantry or what the season suggests. Dried cherries and golden raisins both work wonderfully in place of cranberries, and I've even used a combination of both dried blueberries and lemon zest when oranges felt wrong for the moment.
Storage and Make-Ahead Magic
These scones actually freeze better than you'd expect, which makes them perfect for batch cooking on a weekend when you have time. Wrap them individually in foil or parchment once they're completely cool, then store them in a freezer bag for up to three weeks. When you want fresh scones without the effort, simply reheat them gently in a 300°F oven for about five minutes—they'll taste nearly as good as freshly baked.
- You can also prepare the dough ahead, cut the wedges, freeze them on a baking sheet, then bake straight from frozen (add 2–3 minutes to the baking time).
- A light brush of cream before baking makes all the visual difference, so don't skip this final touch even if you're in a hurry.
- These are best enjoyed the same day if possible, but they stay tender for about two days covered at room temperature.
 Save to Pinterest
 These scones are one of those recipes that feels small until you make them for someone and watch their face light up. That's when you realize it was never about the recipe at all.
Recipe Questions
- → What can I substitute for dried cranberries?
Dried cherries or golden raisins work well as alternatives, offering similar tartness or sweetness.
- → How do I achieve a flaky texture in these scones?
Cutting cold butter into the dry ingredients until coarse crumbs form ensures a tender, flaky crumb.
- → Can I prepare the dough in advance?
Yes, the dough can be chilled for a few hours before baking to enhance flavor and texture.
- → Is it necessary to brush the tops with cream?
Brushing tops with cream before baking helps achieve a golden, glossy finish, but can be skipped if preferred.
- → How should I store leftover scones?
Store in an airtight container at room temperature for up to two days, or freeze for longer keeping.
- → What is the purpose of orange zest in the scones?
Orange zest adds a bright citrus aroma and subtle flavor that complements the candied peel and cranberries.